How to Use eSIM When Traveling Abroad
- Traveling abroad should be about experiencing new cultures, not hunting for Wi-Fi or worrying about outrageous roaming charges. The eSIM has revolutionized travel connectivity, offering a simple and affordable way to stay online wherever you go. If you're ready to make your next trip the most connected one yet, this practical guide will show you exactly how to use an eSIM from start to finish.
Step 1: Before You Go - The Pre-Travel Checklist
A few minutes of preparation at home will save you any hassle later.
1. Check Device Compatibility: Ensure your smartphone supports eSIM technology. Most phones manufactured since 2019 do, but a quick search for your model's specifications will confirm this.
2. Confirm Your Phone is Unlocked: A carrier-locked phone will not accept an eSIM from another provider. To check on an iPhone, go to Settings > General > About and look for "No SIM restrictions." If it says anything else, contact your home carrier to request an unlock.
3. Find an eSIM Provider: Search online for "travel eSIM for [Your Destination]." You'll find global providers offering various plans. Compare them based on data amount, validity period, and price.
Step 2: At Home - Purchase and Install Your eSIM
It's best to do this while you have a stable Wi-Fi connection.
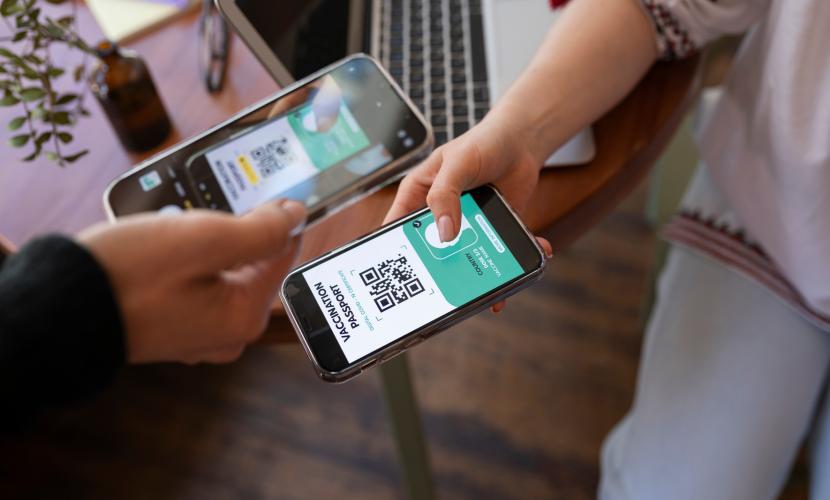
1. Purchase Your Plan: Select the plan that best fits your trip and complete the purchase. You will almost instantly receive an email containing a QR code.
2. Install the eSIM:
• On iPhone: Go to Settings > Cellular > Add eSIM and scan the QR code.
• On Android: Go to Settings > Network & Internet > SIMs, tap the "+" (or "Add eSIM") and scan the QR code.
3. Label Your eSIM: Your phone will prompt you to label your new plan. Name it something obvious, like "Europe Travel" or "Japan Data," to easily identify it later.
Step 3: Upon Arrival - Activate and Use Your Data
This is the magic moment. Once you've landed at your destination:
1. Turn on Your eSIM: Go to your phone's cellular settings and turn on the eSIM line you just installed.
2. Select it for Mobile Data: In the same settings menu, select your travel eSIM as the line to use for "Cellular Data" or "Mobile Data."
3. Enable Data Roaming: This is a crucial step. Tap on your travel eSIM's settings and turn **ON** "Data Roaming." Unlike with your home plan, this is necessary for the travel eSIM to connect to the local partner networks and will not incur extra charges. Your phone should connect to the local network within a minute or two.
"The best travel tool isn't a gadget you pack in your bag; it's the seamless connectivity you set up before you even leave."
Managing Your Home Line While Abroad
One of the biggest advantages of dual SIM/eSIM functionality is that you can keep your primary home line active for calls and texts while using your travel eSIM for data.
Go to your cellular settings and ensure your "Default Voice Line" is set to your primary number. This allows you to receive important calls and SMS messages (like 2FA codes). Just be aware that answering calls on your home number may still incur roaming fees from your home carrier, so check their rates before you travel.
Troubleshooting Quick Tips
If you don't get a connection right away, don't panic. Try these quick fixes:
• Make sure Data Roaming is turned ON for your travel eSIM.
• Restart your phone. This solves most connection issues.
• Check the APN settings provided by your eSIM provider to ensure they were set automatically.
• If all else fails, contact your eSIM provider's customer support.

Which Devices Support eSIM in 2025
06 Jul 2025
Troubleshooting Common eSIM Activation Issues
06 Jul 2025
How eSIM Is Changing the Way We Stay Connected
06 Jul 2025